Erasing DMF Appliance
This section describes how to securely erase data on DMF appliances using the Dell LifeCycle Controller.
As an example of why this capability is useful, there is an erase API for the DMF Recorder Node, but it does not securely remove the data from its hard drive. Instead, it just unlinks files in the Index and Packet partitions so that the file system can reclaim the space for future packets and indices. This approach was a design decision because unlinking files is faster than overwriting data.
To securely erase data and to prevent anyone from accessing it, use the following procedure instead.
Using the Dell Lifecycle Controller
- During POST, press F10 to enter the Lifecycle Controller GUI.
Figure 1. Dell Lifecycle Controller 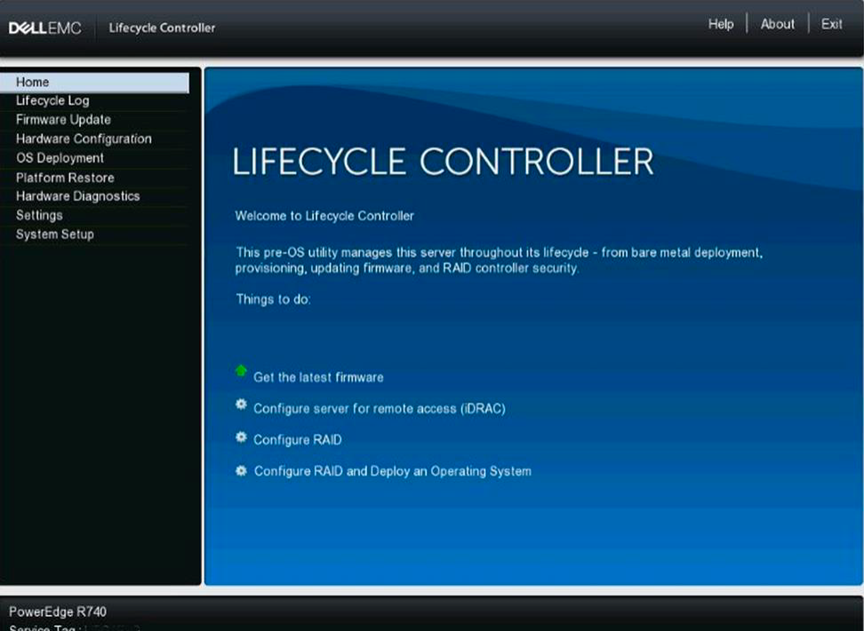
- Select Hardware Configuration. Click on Repurpose or Retire System.
Figure 2. Dell Lifecycle Controller 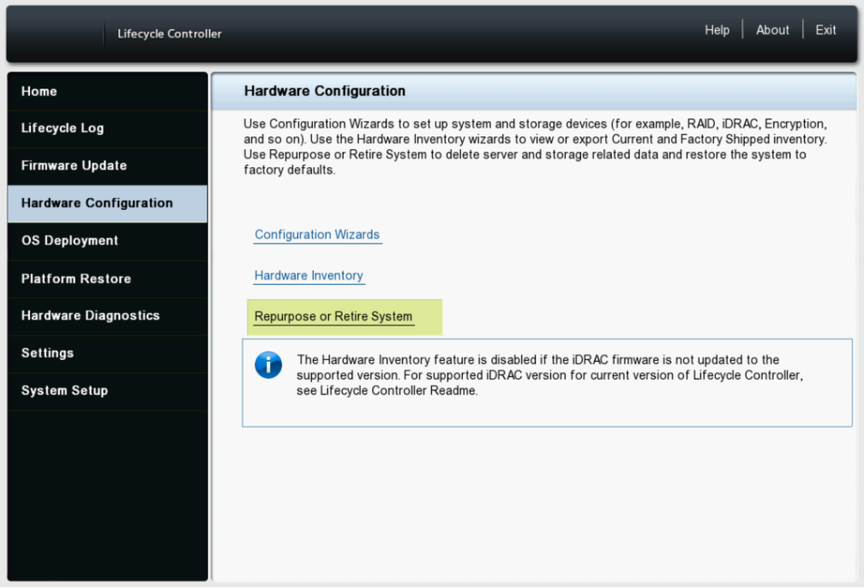
The Retire or Repurpose System function enables the removal of data from the server by erasing server non-volatile stores and data stored on Hard Disk Drives (HDDs), Self-Encrypting Drive (SED), Instant Secure Erase (ISE), and Non-Volatile Memory drives (NVMes).
- Click on View Storage and Disks to display all the drives attached to the server supported for erasure. Only drives that can be erased and detected are displayed.
Figure 3. Dell Lifecycle Controller Hardware Configuration 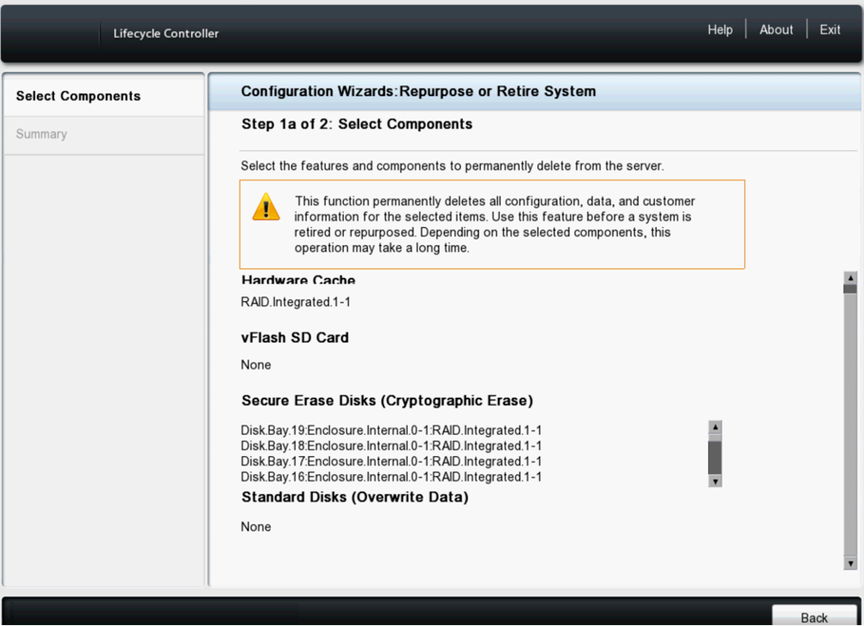
- Click Back and select to return to Step 1 (or 1a). Select Secure Erase Disk (Cryptographic Erase). Select Secure Erase Disk (Cryptographic Erase) and Standard Disks (Overwrite Data) if the system detects both types.
Figure 4. Dell Lifecycle Controller > Repurpose/Retire a system 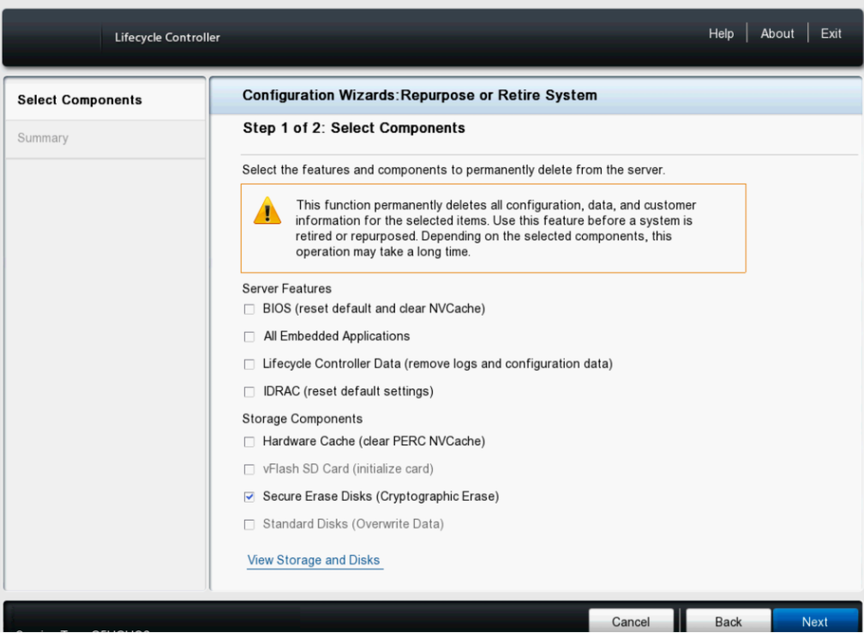
- Click Next to view the Step 2 Summary page, which displays the drives that will be erased. Click Finish.
Figure 5. Dell Lifecycle Controller Repurpose/Retire a system 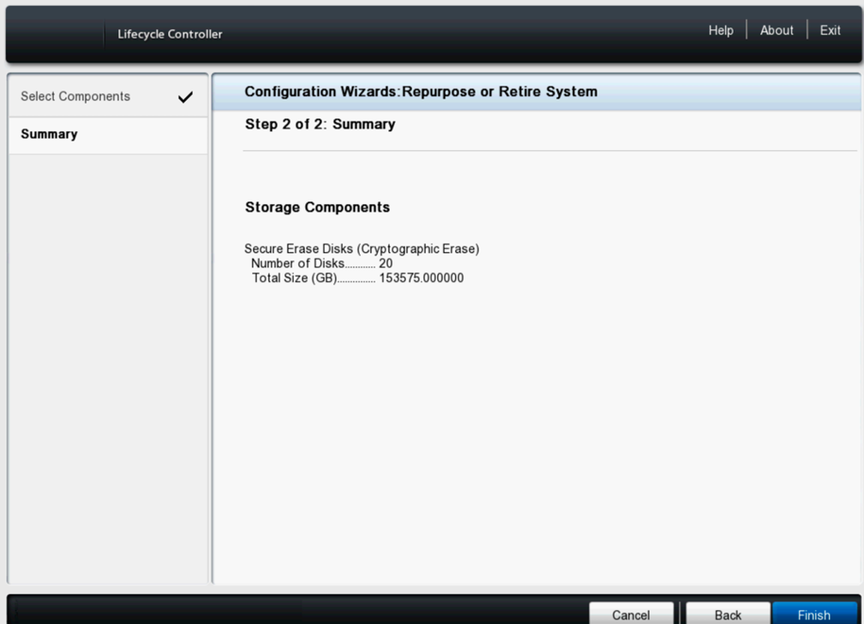
- Warning Physical Disk Erasure message appears about the erasure of the disks. Click Yes.
Figure 6. Dell Lifecycle Controller Repurpose/Retire a system 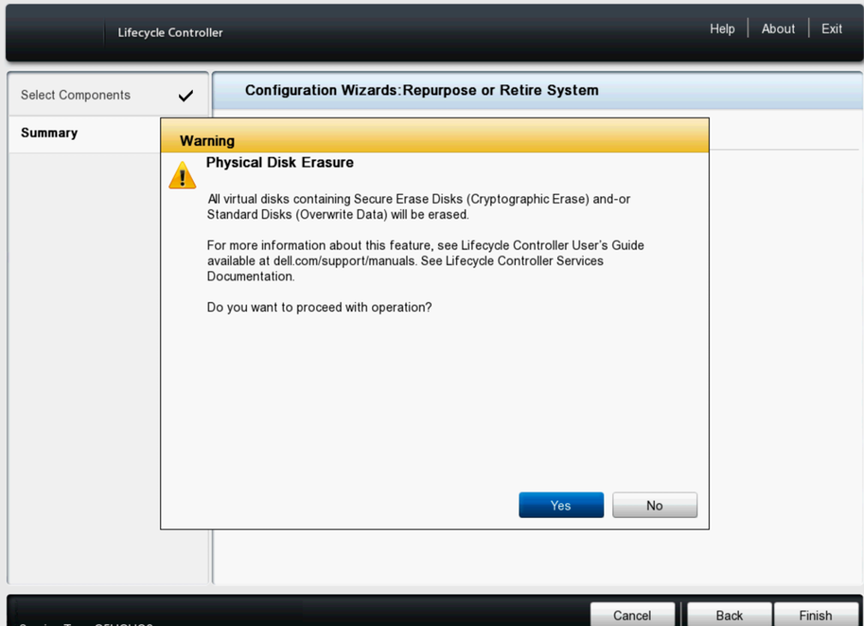
- A Critical message indicates that the erasure process cannot be stopped once started. Click Yes.
Figure 7. Dell Lifecycle Controller Repurpose/Retire a system 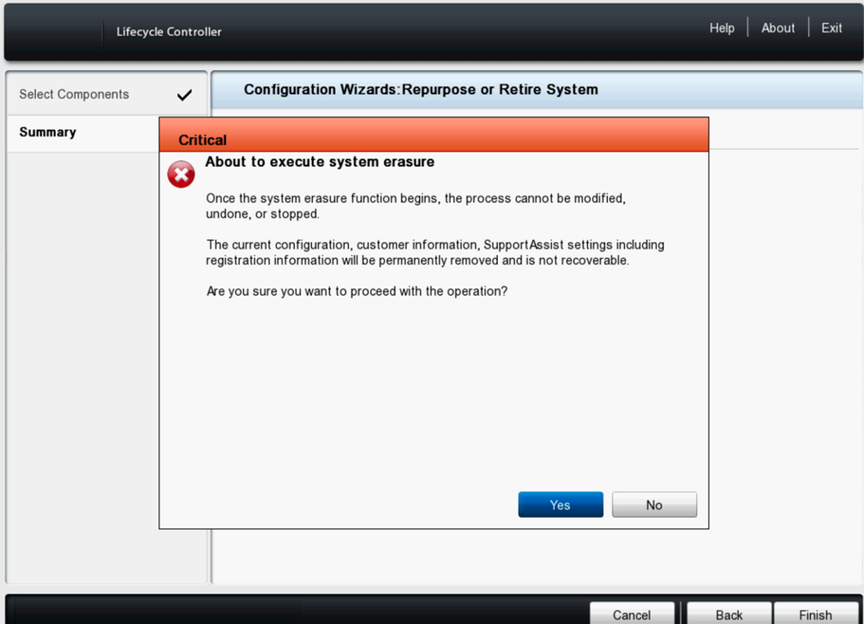
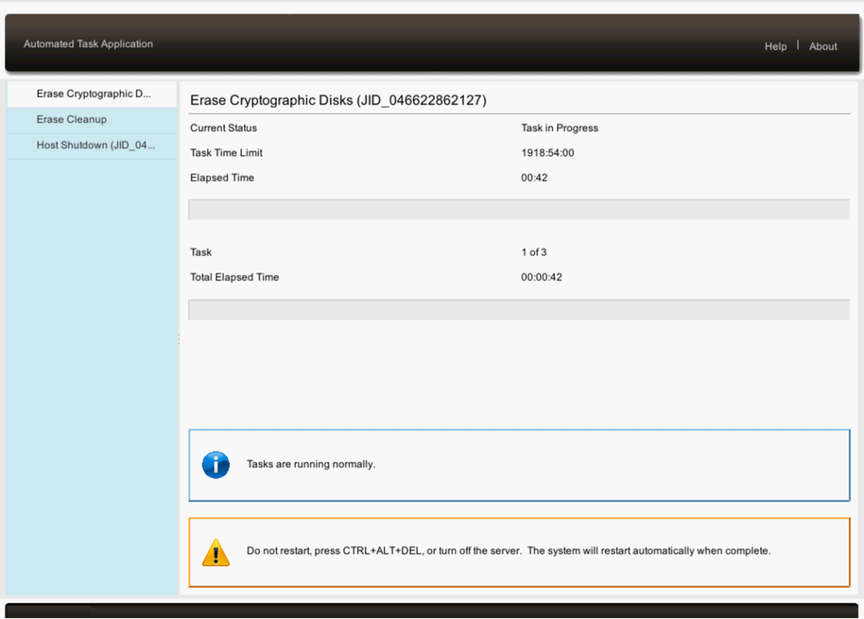
- The DMF appliance will reboot, and during POST, the display will show the Automated Task Application to erase the disks.
Figure 8. DMF Appliance 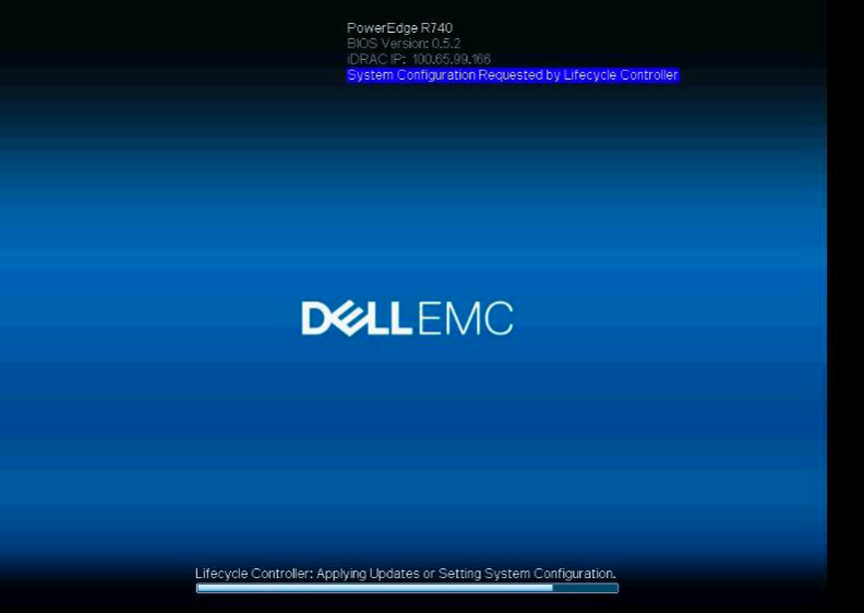
- The Automated Task Application dialog box displays the task of erasing drives along with a progress bar. After the task finishes, the DMF appliance turns off.
Note: Depending on the amount of data on the DMF appliance, the disk erasure process can take some time.
Figure 9. Dell Lifecycle Controller Repurpose/Retire a system