Installing the Access Point
This chapter contains the stepwise procedure to install the access point (AP).
Zero-Configuration of the Access Point
The AP supports zero-configuration under the following conditions:
- The device must be in AP mode with background scanning on and without an SSID configured.
- Set up a DNS entry for wifi-security-server on all the DNS servers. This entry should point to the IP address of the server. By default, the AP looks for the DNS entry wifi-security-server.
- Place the AP on a subnet with DHCP-enabled.
Refer to these articles to understand how APs communicate with the server, and the ports that you need to open to enable the communication:
Important: If placing the device on a network segment separated from the server by a firewall, you must first open port 3851 for User Datagram Protocol (UDP) and Transport Control Protocol (TCP) bidirectional traffic on the firewall. This port number is assigned to Arista Networks. Zero-configuration does not support setting up multiple devices to connect to multiple servers. In this case, you must manually configure the APs.
Assign a static IP to the AP or change the settings to DHCP. Make a note of the MAC address and the IP address of the AP in a safe place before installing it in a hard-to-reach location. Locate the MAC address of the AP on a label at the bottom of the product.
Use the following steps to install the device:
The steps to install the AP with no configuration (zero-configuration) are as follows:
Pole Mount the AP
To mount the AP:
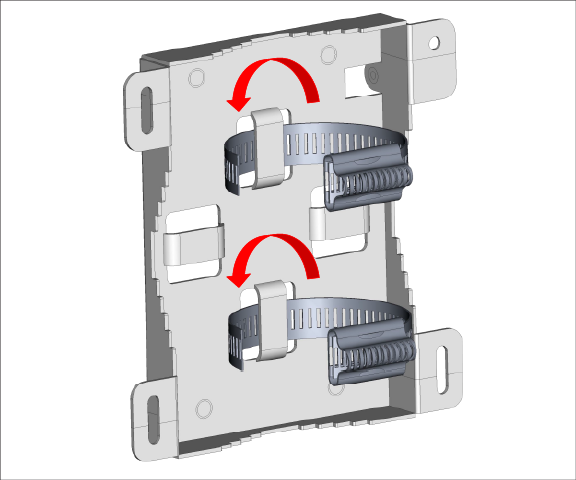
- Insert the two metal clamps into the bracket. You can insert the clamps either in the horizontal or vertical slots depending on the position the pole-mount bracket for use on a vertical or horizontal pole.
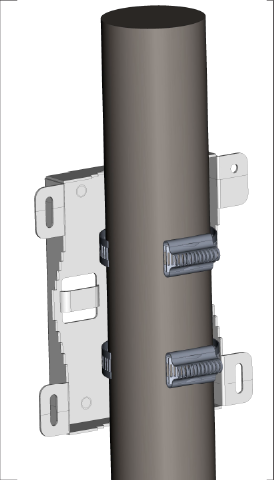
- Fix the bracket to a pole. You can position the pole-mount bracket for use on a vertical or horizontal pole.
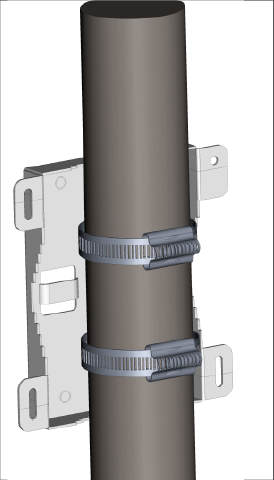
- Fasten the two metal clamps into the slotted driver.
- Mount the AP to the bracket.
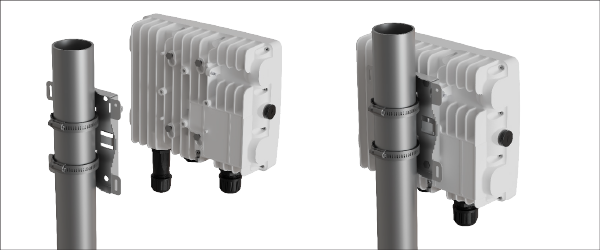
- Tighten the thumb screw using Philips# 2 screwdriver.
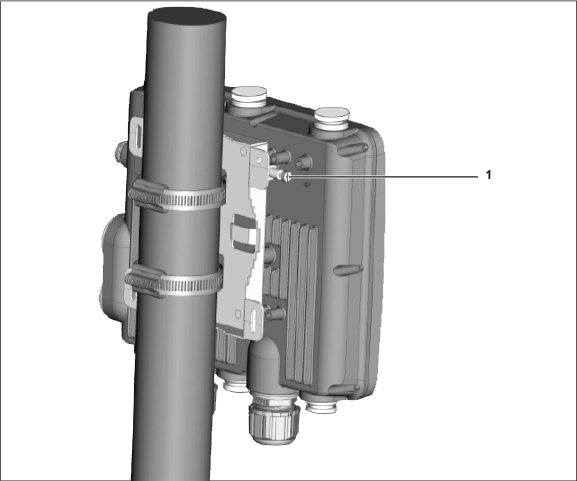
1 Use a Philips #2 screwdriver to fasten the thumb screw.