Configure User Account Details
Ensure to configure privileges for a user to access Edges in a secure manner. You must choose Basic access level for the user. You can configure the access level when you create a new user (under User Management), and choose to modify it at a later point in time. Ensure that you have Superuser role to modify the access level for a user.
To access the My Account page, follow the below steps:
- Select the User icon in the Global Navigation located at the top right of the screen.
The User Information panel is displayed as shown below:
Figure 1. User Information 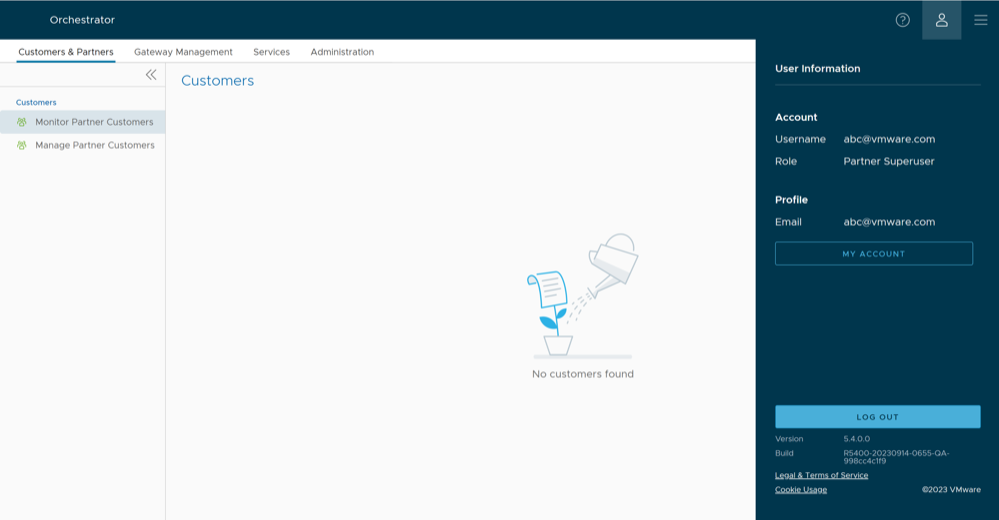
- Select the My Account button.
The Profile tab is displayed by default.
Figure 2. Profile Tab 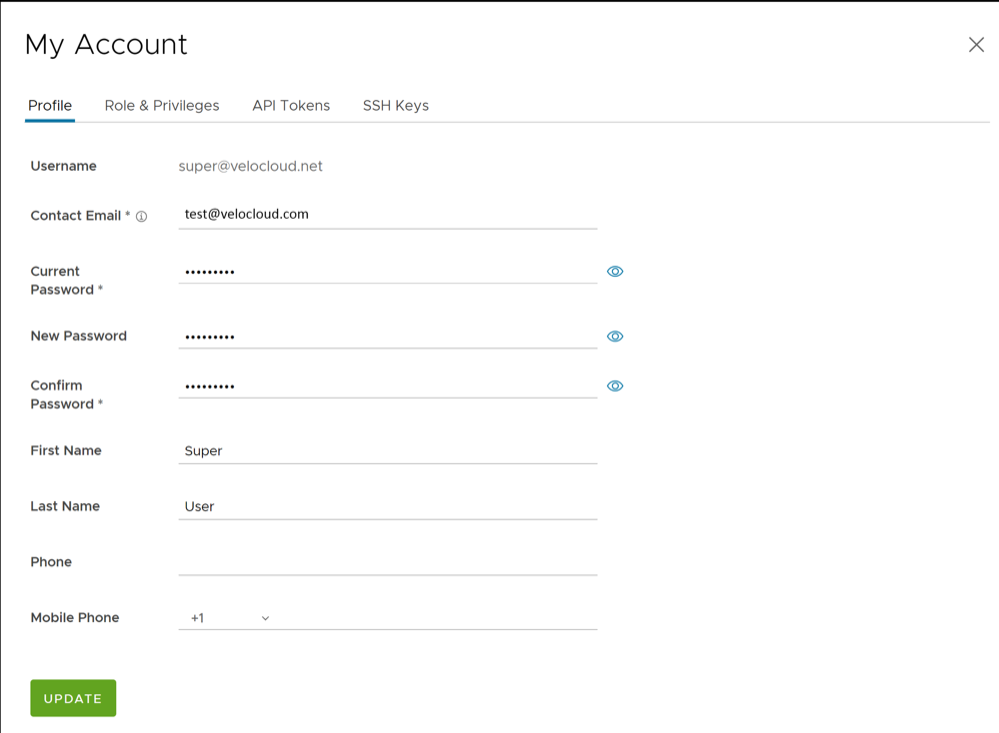
- Select the Role & Privileges tab to view the existing user role and description. It also displays the privileges associated with the user role.
Figure 3. Role & Privileges Tab 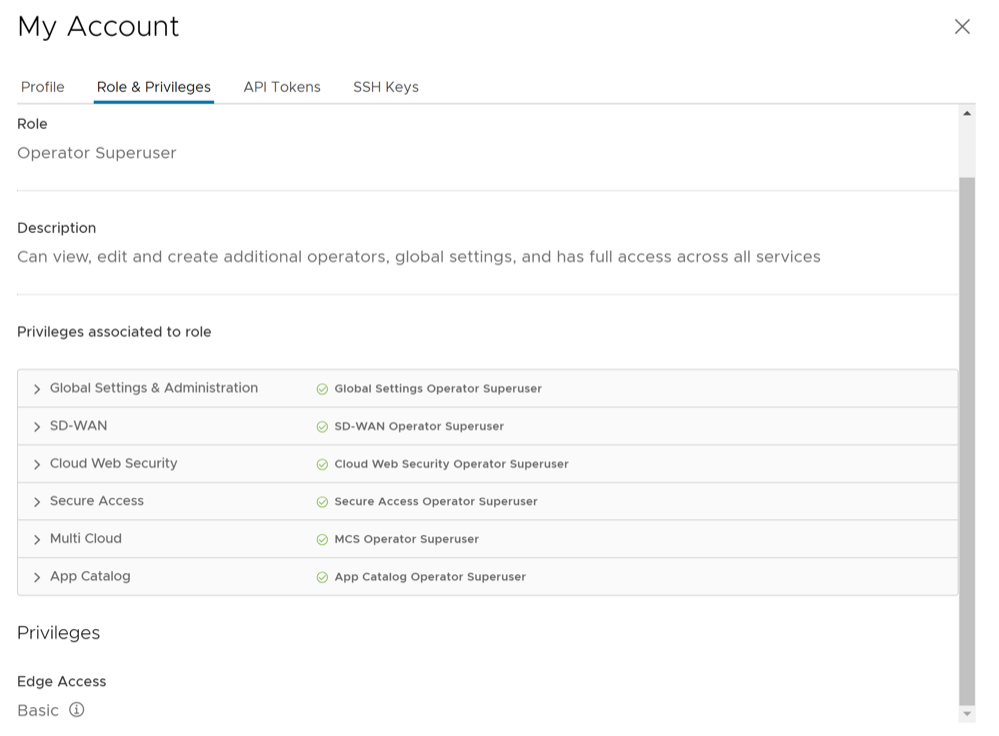
- Select the API Tokens tab.
The following screen is displayed.
Figure 4. API Tokens Tab 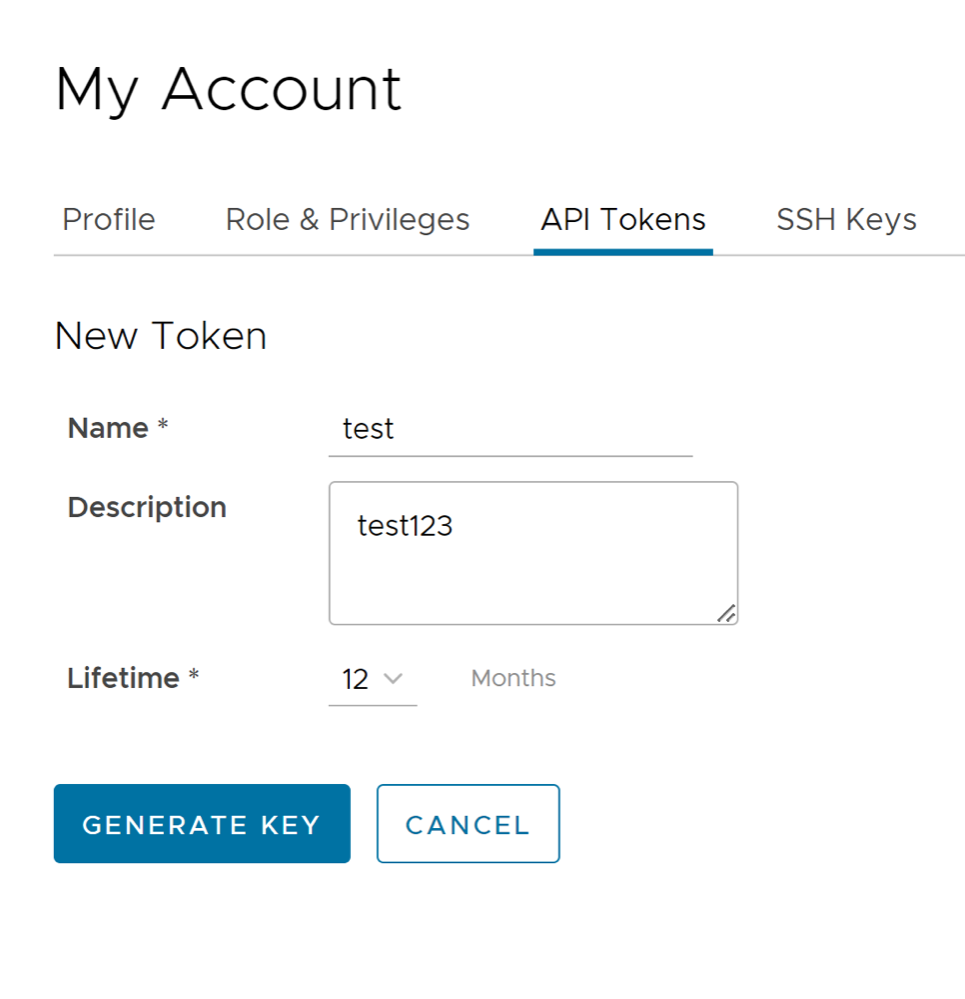
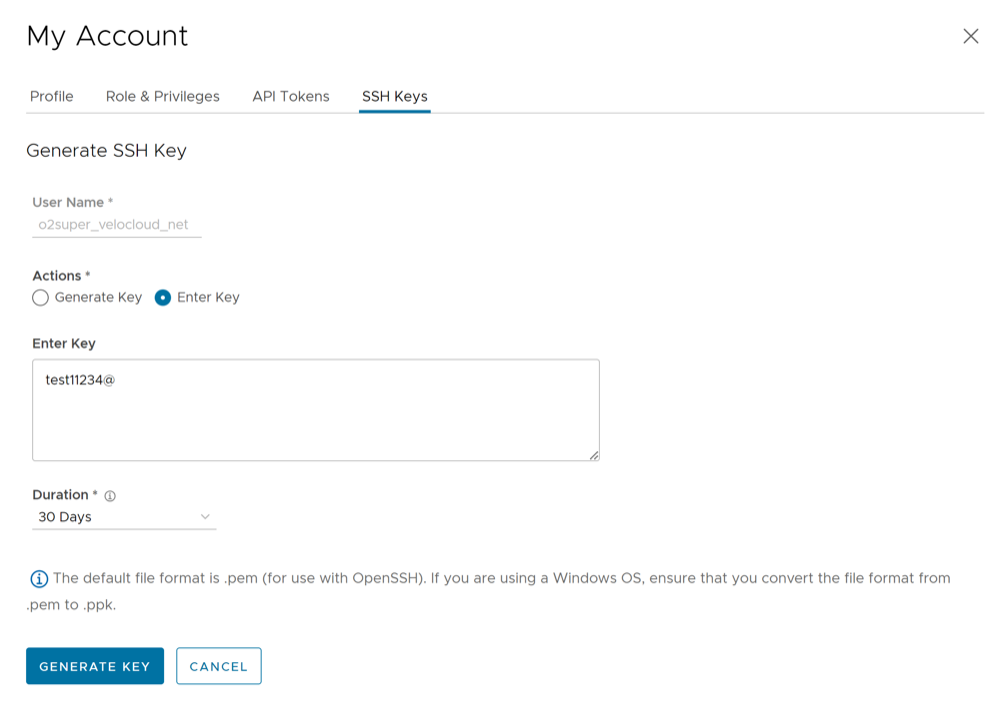
- Select the SSH Keys tab to configure a Secure Shell (SSH) key-based authentication.
The SSH key-based authentication is a secure and robust authentication method to access VeloCloud Edges. It provides a strong, encrypted verification and communication process between users and Edges. The use of SSH keys bypasses the need to manually enter login credentials and automates the secure access to Edges.Note:
- Both the Edge and the Orchestrator must be using Release 5.0.0 or later for this feature to be available.
- Users with Operator Business or Business Specialist account roles cannot access Edges using key-based authentication.
When using key-based authentication to access Edges, a pair of SSH keys are generated- Public and Private.
The public key is stored in the database and is shared with the Edges. The private key is downloaded to your computer, and you can use this key along with the SSH username to access Edges. You can generate only one pair of SSH keys at a time. If you need to add a new pair of SSH keys, you must delete the existing pair and then generate a new pair. If a previously generated private key is lost, you cannot recover it from the Orchestrator. You must delete the key and then add a new key to gain access.
Based on their roles, users can perform the following actions:- All users, except users with Operator Business or Business Specialist account roles, can create and revoke SSH keys for themselves.
- Operator Super users can manage SSH keys of other Operator users, Partner users, and Enterprise users, if the Partner user and Enterprise user have delegated user permissions to the Operator.
- Partner Super users can manage SSH keys of other Partner users and Enterprise users, if the Enterprise user has delegated user permissions to the Partner.
- Enterprise Super users can manage the SSH keys of all the users within that Enterprise.
- Super users can only view and revoke the SSH keys for other users.
Note: Enterprise and Partners Customers without SD-WAN service access are not able to configure or view SSH keys related details.
The following screen appears:Figure 5. SSH Keys Tab