LCD Operation
This section describes the operation of the LCD panel for the Arista 5310 and Arista 5510 Enterprise WAN Routers.
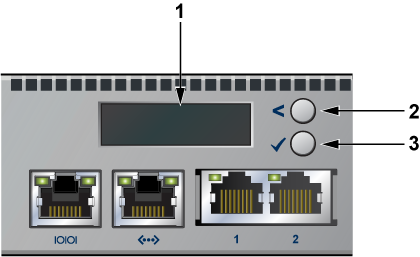
| 1 | 2x16 LCD screen |
| 2 | Top button |
| 3 | Bottom button |
Buttons Functionality
- The Top button is located next to the less-than (<) symbol.
- The Bottom button is located next to the checkmark (✔️) symbol.
Each button has a functionality based on the button and how long the button is pressed.
| Button | Press Duration
< 2 Secs |
Press Duration
>= 2 Secs |
|---|---|---|
| Top button | scroll | home |
| Bottom button | select | confirm |
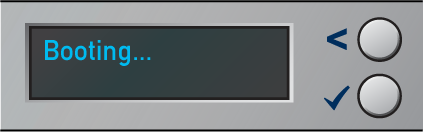
Booting
Once the power is on, the LCD displays the image shown below:
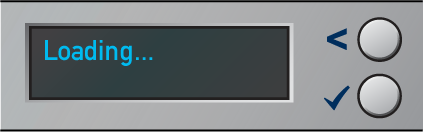
Once the bootloader is booted and when the EOS image has begun loading, the LCD displays the image shown below:
Home Screen
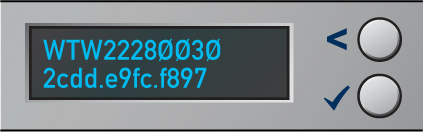
Once the EOS has successfully booted, the LCD displays the home screen. The following image is an example output:
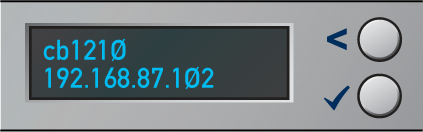
The first line displays the hostname, and the second line displays the IPv4 address of the management interface.
Menu Choices
Starting at the home screen, use the top button (“scroll” function) to scroll through possible menu choices. The menu choice displays on the top line.
To select the menu item, press the bottom button (“select” function).
Menu Item Output
Although the physical display is limited to 2 rows and 16 characters per row, a menu item may display a larger virtual information display. If the width of the line being displayed is wider than the physical screen, then the display will automatically scroll back and forth to display the entire line.
If the number of lines displayed exceeds the physical height, then you can scroll through the output by using the LCD buttons. Use the top button (“scroll” function) to see earlier lines, and use the bottom button (“select” function) to see later lines.
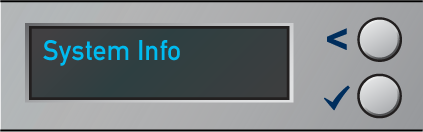
System Info
The System Info menu item shows the following information:
-
Model name
-
EOS version
-
Hardware revision
-
Serial number
-
MAC address of the management interface
Example:
The following figure shows the first two lines of the data:
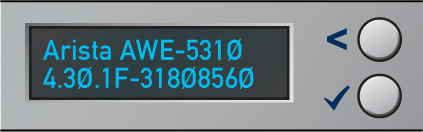
The following figure shows the data displayed after pressing the bottom button twice:

The following figure shows the data displayed after pressing the bottom button again: