To mount the appliance onto a two-post rack, remove the wall mount bracket, mount the power supply unit, assemble the mounting brackets to the chassis, and then attach the brackets to the rack posts.
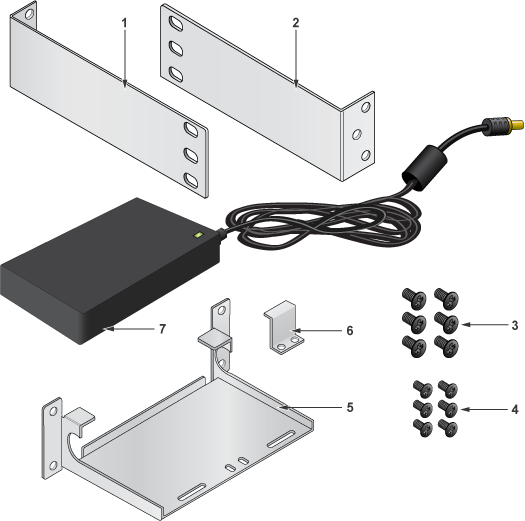
The following describes the process for mounting the power supply unit.
Line up the power supply bracket (1) with the holes on the side of the appliance.
Insert screws (2, 7) through the power supply bracket into the appliance.
Place 40W PSU (3) inside the bracket.
Secure PSU with fastening plate (5) and screws (6).
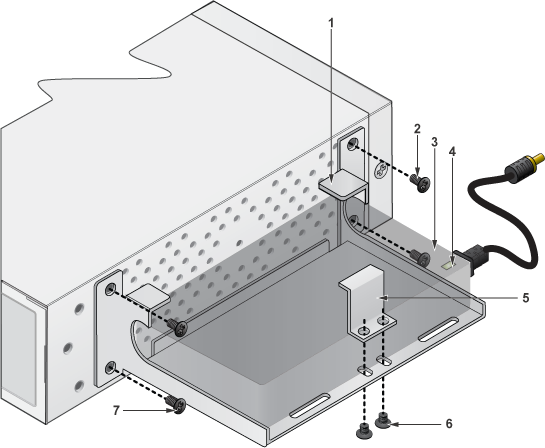
Attaching Mounting Brackets to the Chassis
This procedure attaches mounting brackets to the appliance chassis.
Remove the four screws on the wall mount bracket on the bottom of the appliance.
Remove the wall mount bracket from the bottom of the appliance.
Place the mounting bracket (1) flush against one side and to the front of the chassis so that the holes in the bracket and the chassis are in line for the attachment screws.
Use three screws (2) to attach the bracket to the chassis.
Attach the second bracket (4) to the other side of the chassis with three screws (3).
Note: The bracket will extend away from the chassis and provide three larger holes to attach to the rack as shown above.
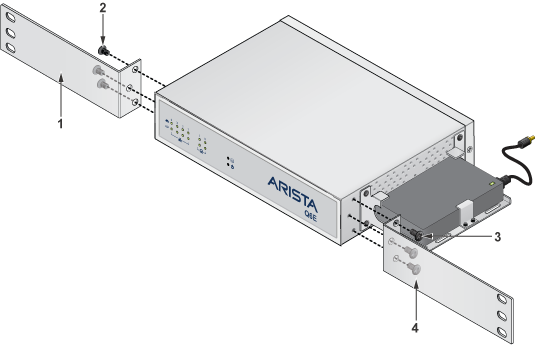
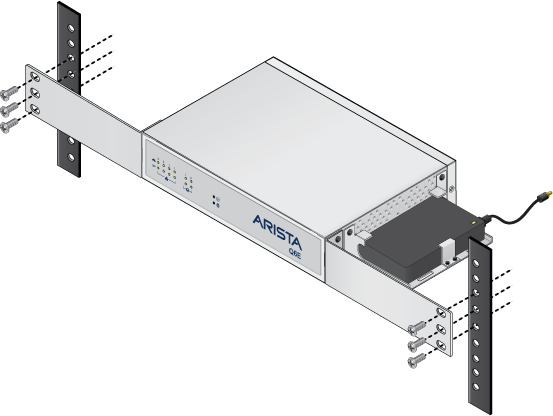
Inserting the Appliance into the Rack
This procedure attaches the appliance to the rack.
Lift the chassis into the rack. Position the brackets against the rack posts at the same level.
Select mounting screws that fit your equipment rack.
Note: Screws required to attach the chassis to the posts are not included. Use the appropriate screws for the rack posts being used.
Attach the brackets to the rack posts.
Mounting the Appliance on a Wall
You can mount the appliance on a wall or place the appliance on a flat surface, such as a desk or a shelf.
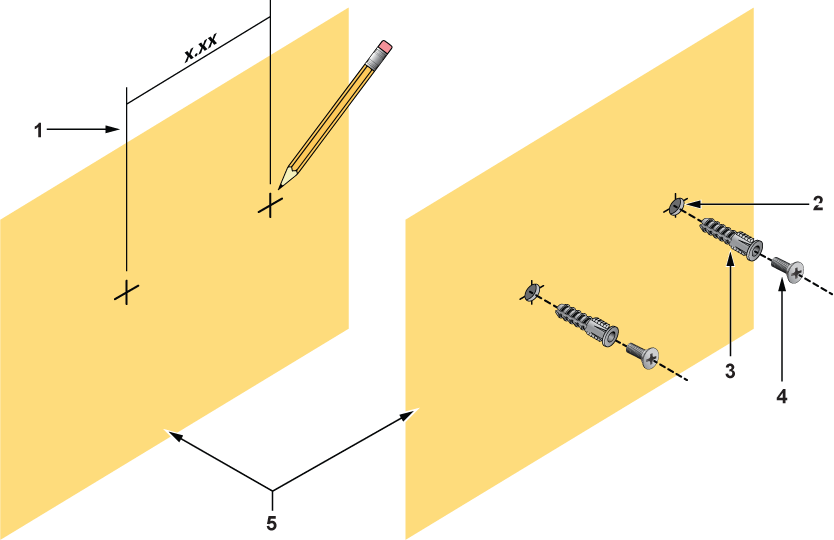
Figure 2. Steps 1 and 2
Drill two holes apart in the wall in a vertical or horizontal orientation(2), you can remove the VESA mounting bracket and use the holes as guides to mark the wall for drilling(1).
Note: Make sure you leave enough clearance around the appliance.
Insert nylon plugs into the holes(3), then insert two 32mm x 6.35mm flat undercut screws into the plugs(4).
Note: Nylon plugs are only necessary when mounting the appliance to drywall.
Figure 3. Steps 3 and 4
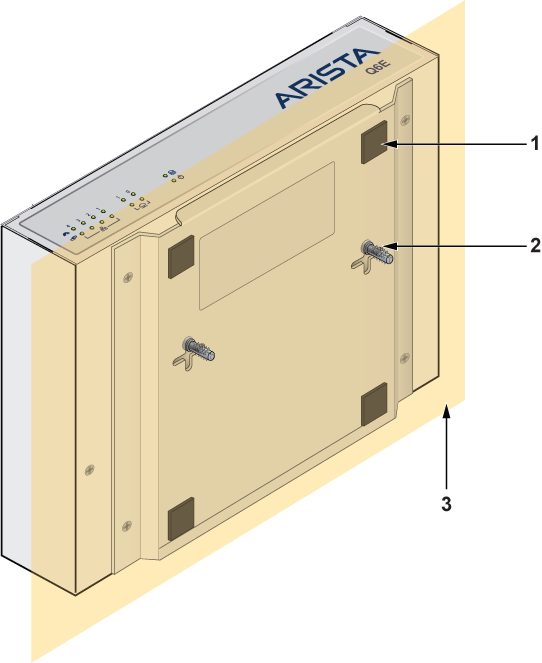
Attach the four provided rubber feet to aid ventilation(1).
Align the mounting holes on the appliance with the screws, then place the appliance on the screws(2).