Deploying Virtual Edge with ARM Template
This section describes how to deploy a virtual edge with an Azure Resource Manager (ARM) template.
VeloCloud SD-WAN only supports a 2-NIC ARM deployment (i.e., GE1/WAN & GE2/LAN) when deploying a virtual edge. Of these two templates, one supports regions with Availability Zones (AZs), and the other supports regions without Availability Zones (AZs).

In this basic topology example, the Azure Virtual Network (vNET 172.16.0.0/16) is divided into a Public subnet (172.16.0.x/24) and a Private subnet (172.16.1.x/24). The virtual edge routes between the two subnets. The Public User-Defined Routes (UDR) will forward all off-net traffic to the Internet Gateway. The UDR in the Private subnet will forward all traffic to the LAN-facing interface on the virtual edge (type Virtual Appliance). In this example, a default route is used to forward “ALL” traffic from the workloads, but is not necessary. RFC1918 summarization or specific branch/Hub prefixes can be used to narrow what is sent to the virtual edge. For example, if the workloads in the Private Subnet still need to be accessible via SSH from publicly sourced IPs, then the UDR could be configured to point the default route (0.0.0.0/0) to the Internet Gateway and RFC1918 summarization to the virtual edge.
To deploy a virtual edge with an ARM template, perform the following steps:
- Login into the Orchestrator and add the virtual edge to the Enterprise.
- In the Orchestrator, go to and click the New Edge button.
Figure 2. Configure Edges 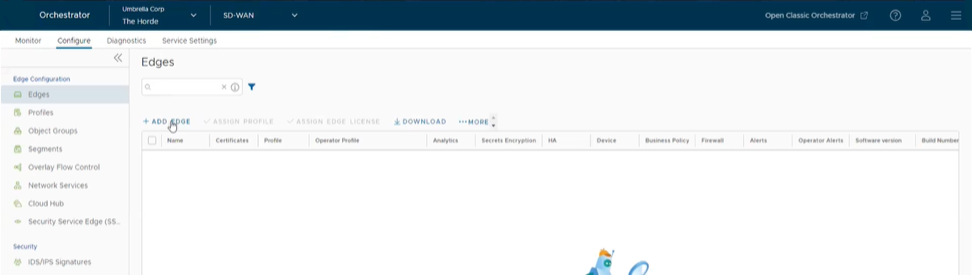
- The Provision New Edge dialog box displays.
Figure 3. Provision an Edge 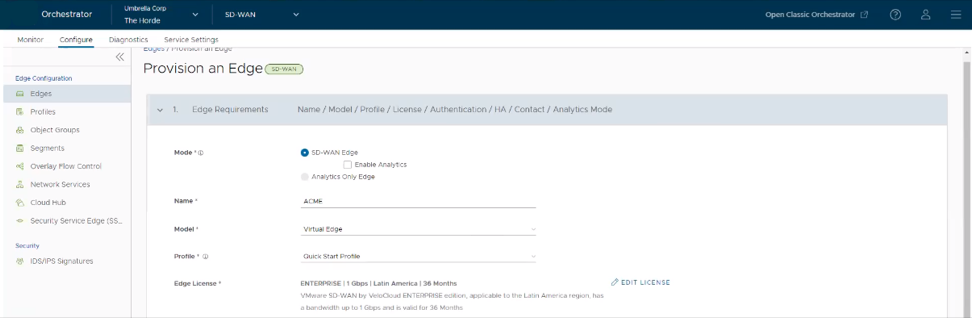
- In the Provision New Edge dialog, provide the required details and click Save:
- Enter a name in the Name text box.
- From the Model drop-down menu, choose Virtual Edge.
- From the Profile drop-down menu, choose a Profile.
The Edge is provisioned with an activation key, as shown in the following image. Make a note of this activation key.
Figure 4. Edge Provisioned with Activation Key 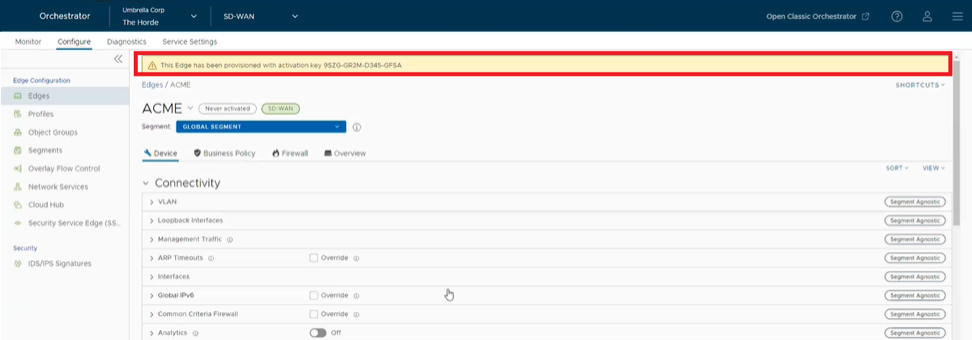
- In the Orchestrator, go to and click the New Edge button.
- Configure virtual edge interfaces.
CAUTION: Make sure to configure the Device settings before activating the virtual edge. If you miss to configure device setting, the virtual edge activates, but then goes offline a few minutes later.
- Navigate to the virtual edge’s Device Settings tab.
Figure 5. Device Settings for Virtual Edges 
- Change the Interface Settings as follows:
- Change the GE1 interface capability from “Switched” to “Routed” (if needed) and activate DHCP addressing and WAN overlay.
- In the GE2 interface, deactivate WAN overlay as this interface will be used for the LAN-side Gateway. Also, deactivate Network Address Translation (NAT) Direct Traffic.
Figure 6. Interface Settings for Virtual Edge 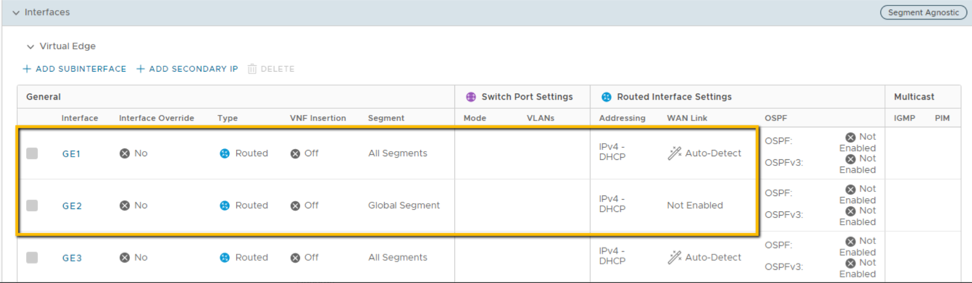
- Navigate to the virtual edge’s Device Settings tab.
- Launch the virtual edge via one of the two ARM templates as follows:
- VeloCloud SD-WAN ARM Template for regions with Availability Zones:
Figure 7. SDWAN Azure ARM Template for AZs 2-NIC 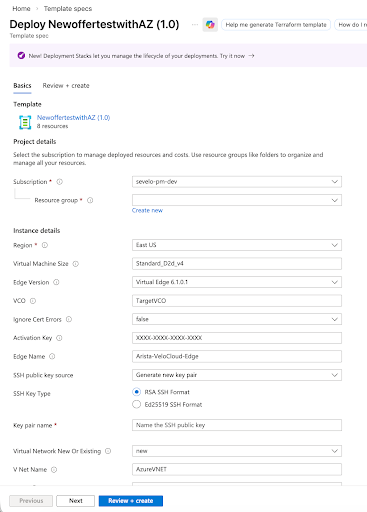
- VeloCloud SD-WAN ARM Template for regions without Availability Zones:
Figure 8. SDWAN Azure ARM Template without AZs 2-NIC 
- In the Microsoft Azure portal, navigate to Template specs and click +Create template spec.
Figure 9. Create Template Spec 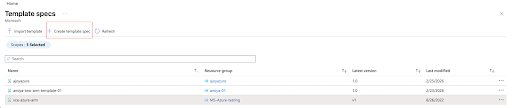
- In the Basics tab, enter the name, description, and version of the template or deployment.
Figure 10. Create New Template Spec Basic information 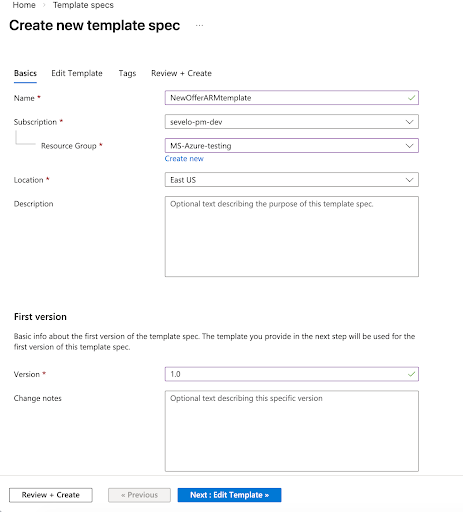
- Click Edit Template, and then cut and paste the ARM template in the Edit Template area.
Figure 11. Edit Template 
- Click Review + Create. Review the template summary details and click Create.
Figure 12. Review and Create Template 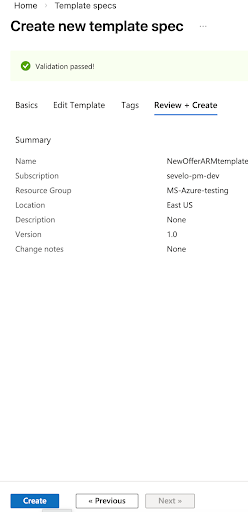 The new ARM template appears in the list of template specs. Right click the new ARM template and click Deploy.
Figure 13. Deploy Template 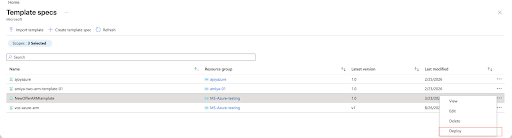
- Complete the ARM template form for deployment.
Figure 14. ARM Template Form for Deployment 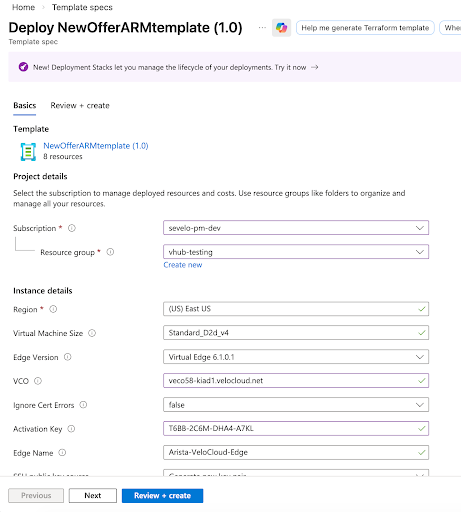 Note: You can only SSH and login with a private key.
 - On clicking Create, the ARM template is deployed. Agree to the terms and conditions and click the Purchase button.
Figure 15. Azure Marketplace Terms and Conditions 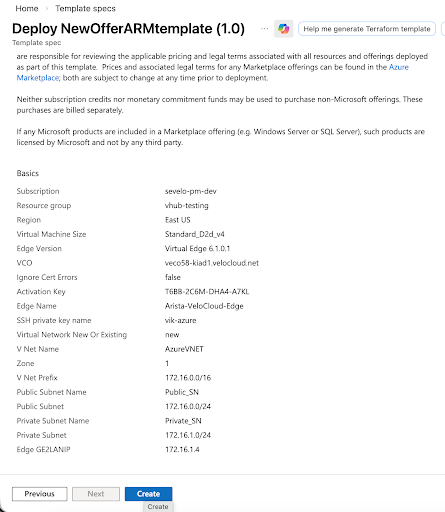
Azure will begin the deployment, which can take a few minutes to complete. To follow the progress, click Deployment in Progress… and refresh.
Figure 16. Deployment In Progress State 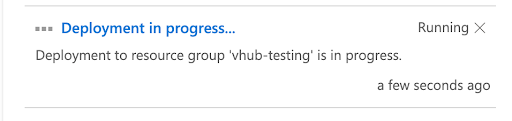
Figure 17. Deployment Underway State 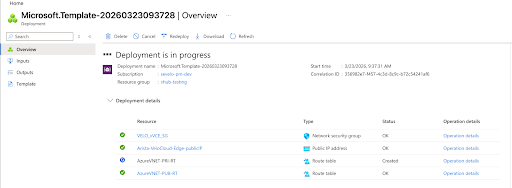
Once the virtual edge deployment is complete, the virtual edge will boot up and reach out to the Orchestrator with its activation key to complete virtual edge activation.
Figure 18. Deployment Complete State 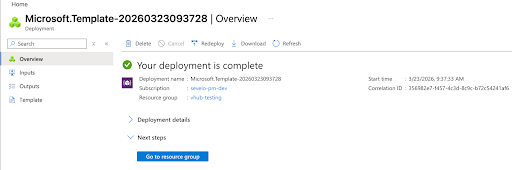
- VeloCloud SD-WAN ARM Template for regions with Availability Zones:
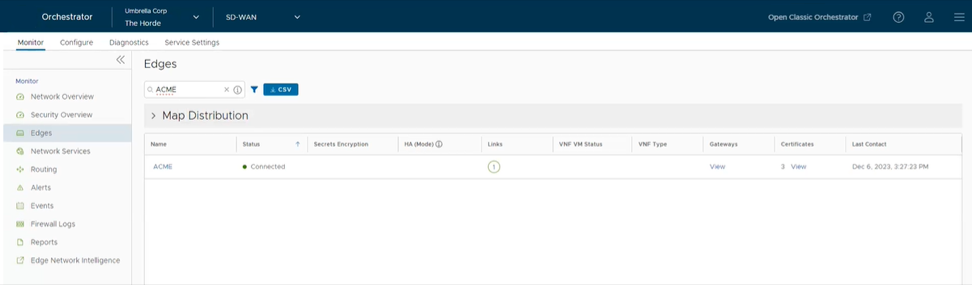
- Verify that the virtual edge is activated in the Orchestrator.
Once the instance is running in Azure and all information provided is correct, the virtual edge will reach out to the Orchestrator with the activation key, activate, and perform software update if needed, and reboot if upgraded. Typical deployment time is between three to four minutes.
Figure 19. Verify Virtual Edge Activation