The configuration guide is no longer being updated. Please refer to the CloudVision Help Center going forward.
Managing Tags
On the CloudVision portal, navigate to Provisioning > Tags to view the Tags
Management screen. See the figure below.Figure 1. Tags Management Screen
This screen provides the following functionalities:
Search device or tags field under the Devices column - Type
either the required device name, tags category, or tag name for a quick
search of devices and tags.
Search device, interface, or tags field under the Interface
column - Type either the required device name, tags category, tag name, or
interface name for a quick search of device, interface, or tags.
Select All checkbox - Select the checkbox to choose all devices
simultaneously.
Perform the following steps to create and assign a tag to a device:
On CVP, click Provisioning > Tags.
The system displays the tags screen.
On the Device pane, select device(s) to which you want to create and
assign a tag.
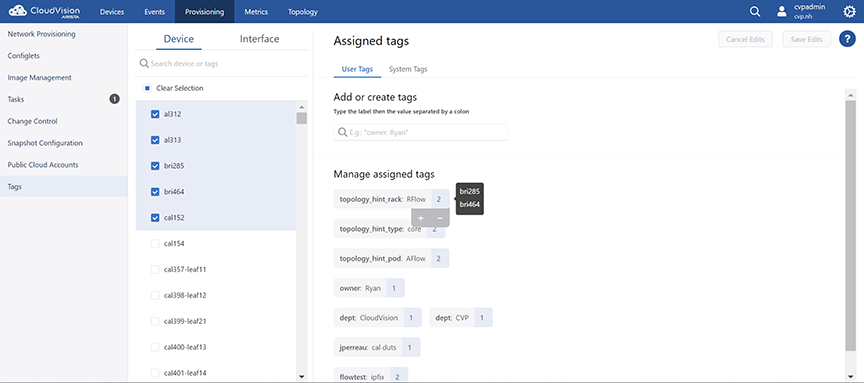
The system opens the Assigned tags pane. See the figure below.Figure 2. Create and Assign
Note:
Optionally, use the search bar for searching required
devices.
To manage interface tags, click the Interface tab and
perform required tasks.
Type the new tag in the search field under User Tags > Add or create
tags > Type the label then the value separated by a colon.
Note:
Tags should be of the form <label>: <value>. For
example, owner: Bill.
The System Tags pane displays tags that are automatically
created and assigned by the system.
Click Create and Assign.
Note: If you had selected multiple devices, the new tag will be simultaneously
assigned to all selected devices.
The new tag is displayed under Manage assigned tags.
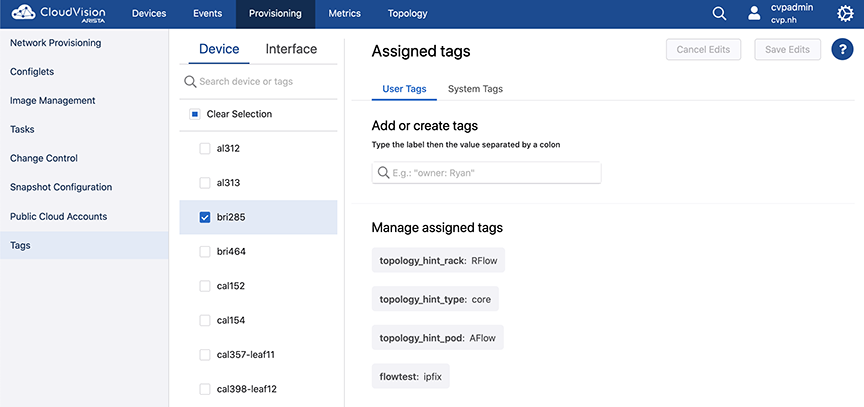
Deleting Assigned Tags
Perform the following steps to delete an assigned tag:
On CVP, click Provisioning > Tags.
The system displays the tags screen.
On the Device pane, select the device(s) which is associated with the
tag that needs to be removed.
The system displays all tags assiged to the selected device(s) under
Manage assigned tags. Figure 3. Associated with Selected Devices
Note:
Optionally, use the search bar for searching required devices or
tags.
Hovering the cursor on the number next to the tag name, lists the devices to which the
current tag is assigned.
Click the tag that needs to be removed.
The system displays plus and minus signs when the tag is
clicked.
Click the minus sign to delete the selected tag.
Click Save Edits.
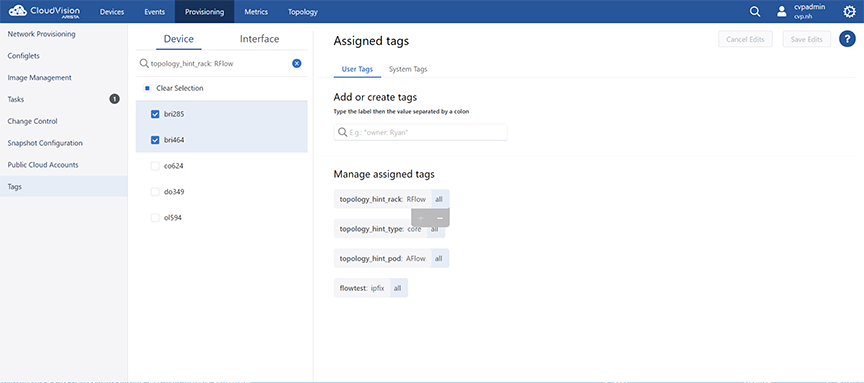
Adding Tags to Multiple Devices
Perform the following steps to add a
tag to multiple devices simultaneously:
On the main pane of the tags screen, select the device to which the tag has
already been assigned to; and new devices to which the tag needs to be assigned.
Under Manage Assigned Tags on the right pane, CVP lists tags that
are assigned to selected devices.
Note: Hovering the cursor on the number next to
the tag name, lists the devices to which the current tag is assigned. See
the figure below.Figure 4. Tag Assigned to Multiple Devices
Click the desired tag.
The system pops up plus and minus signs beneath the tag.
Click the plus sign to add this tag to all selected devices.
Click Save Edits.
Removing Tags from Multiple Devices
Perform the following steps to
remove a tag from multiple device simultaneously:
On the main pane of the tags screen, select devices that are assigned with the
tag that needs to be removed.
Note: Alternatively, search the tag that needs to be removed. CVP lists all
devices to which the tag is assigned to. To remove the tag from few devices,
select only devices from which the tag needs to be removed. If you select
all devices, the tag will be removed from all devices.
Under Manage Assigned Tags on the right pane, the system lists
tags that are assigned to selected devices.
Click the tag that needs to be removed.
The system pops up plus and minus signs beneath the tag. See the figure
below.Figure 5. Remove Tag from Multiple Devices
Click the minus sign to remove the tag from all selected devices.
Click Save edits.
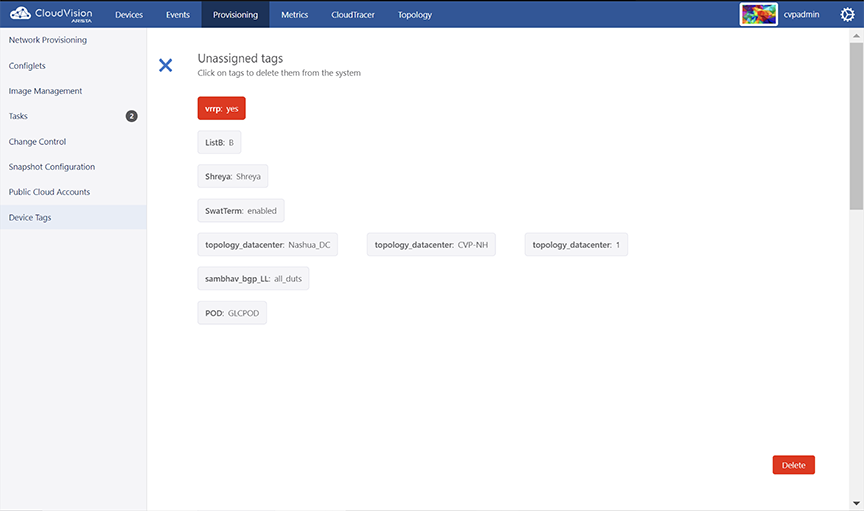
Deleting Unassigned Tags
Perform the following steps to manage unassigned tags:
On CVP, click Provisioning > Tags.
The system displays the tags screen.
On the main pane of the tags screen, click Edit tags.
The system lists all unassigned tags.
Click the tag that needs to be removed.
The clicked tag turns to red.Figure 6. Delete Unassigned Tags

 Note:
Note: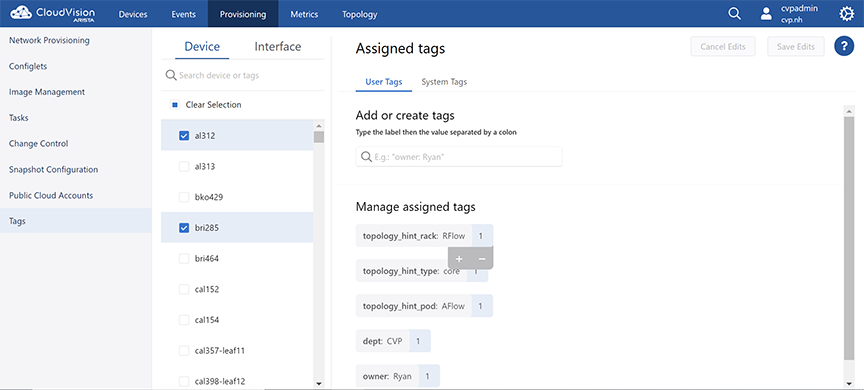 Note:
Note: