Managing User Accounts
The system uses the following functionalities to manage user accounts:
Adding New User Accounts
When you create a new user account, you specify the login information (authentication credentials) of a person that needs to use one or more CVP modules. Personal information for the new user account is optional and can be specified when you create the new user or at a later time.
By default, new user accounts are enabled. The new user is able to use the CVP modules they are permitted to use, based on the role assigned to them. If you do not want the new user to use CVP at this time, select the Disable option (a Status option). You can enable the user account at a later time.
Complete these steps to create a new user:
-
Under
Access Control
in the left menu, click
Users.
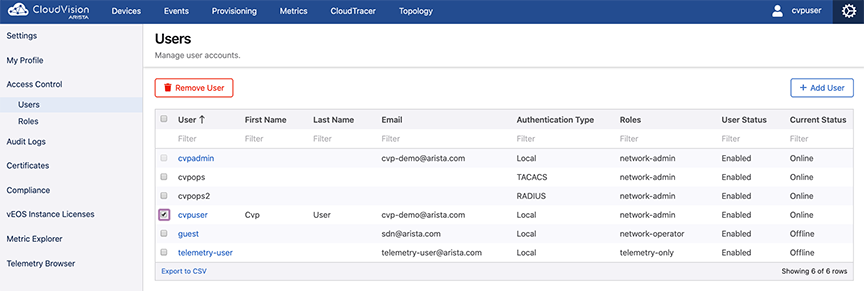
The Users page lists all current users.
Figure 1. Users Page 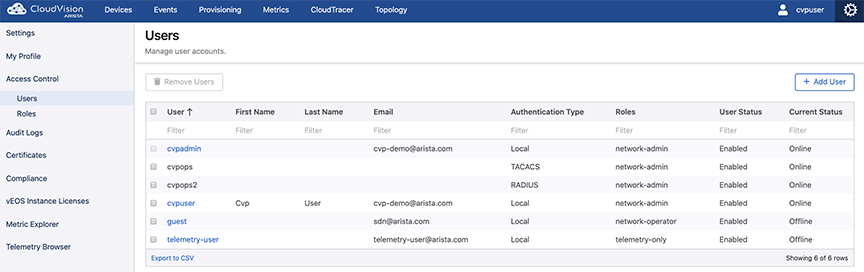
-
Click
+ New User
at the upper right corner of the Users page.
The system pops-up the New User window.
Note: The New User pop-up window creates users only with the ‘Local’ authentication type.Figure 2. New User Pop-Up Window 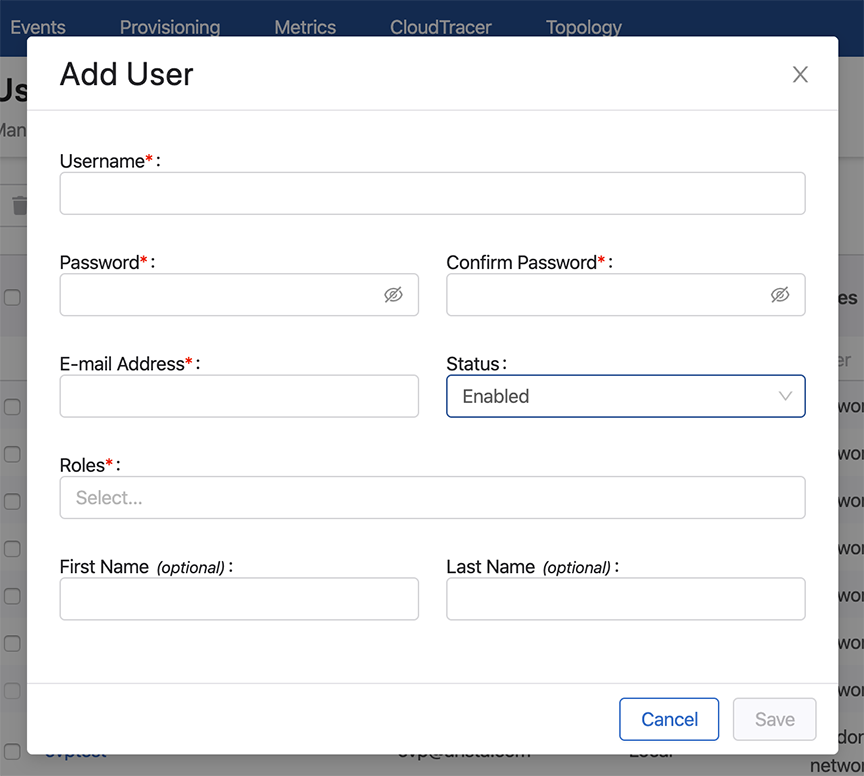
Modifying User Accounts
Modifying user accounts enables you to change the following aspects of existing user accounts:
- Login information (password)
- Contact information (email address)
- Status (enabled or disabled)
- Role(s) (the CVP role(s) assigned to the user)
- Personal information (first and last names)
Complete these steps to modify a user account.
-
In the
Users page, click the edit icon available next to the
corresponding user name.
The system pops-up the Edit User window displaying all information related to the corresponding user.
Figure 3. Edit User Pop-Up Window 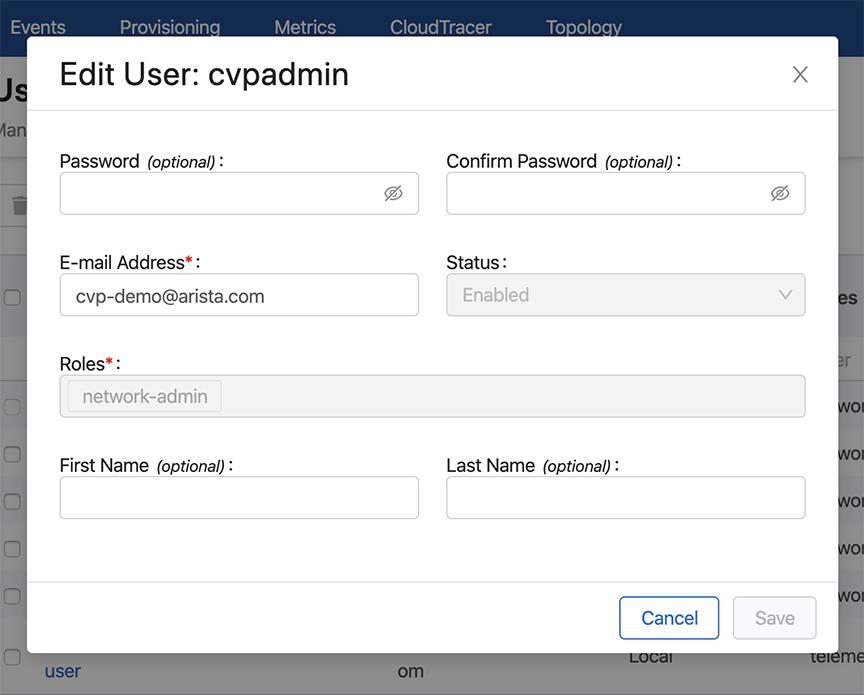
Removing User Accounts
Complete these steps to remove a user account:
-
Click
Remove User/Remove Users at the upper right corner of the
Users page.
The system prompts to confirm deletion.
Figure 4. Remove User Account